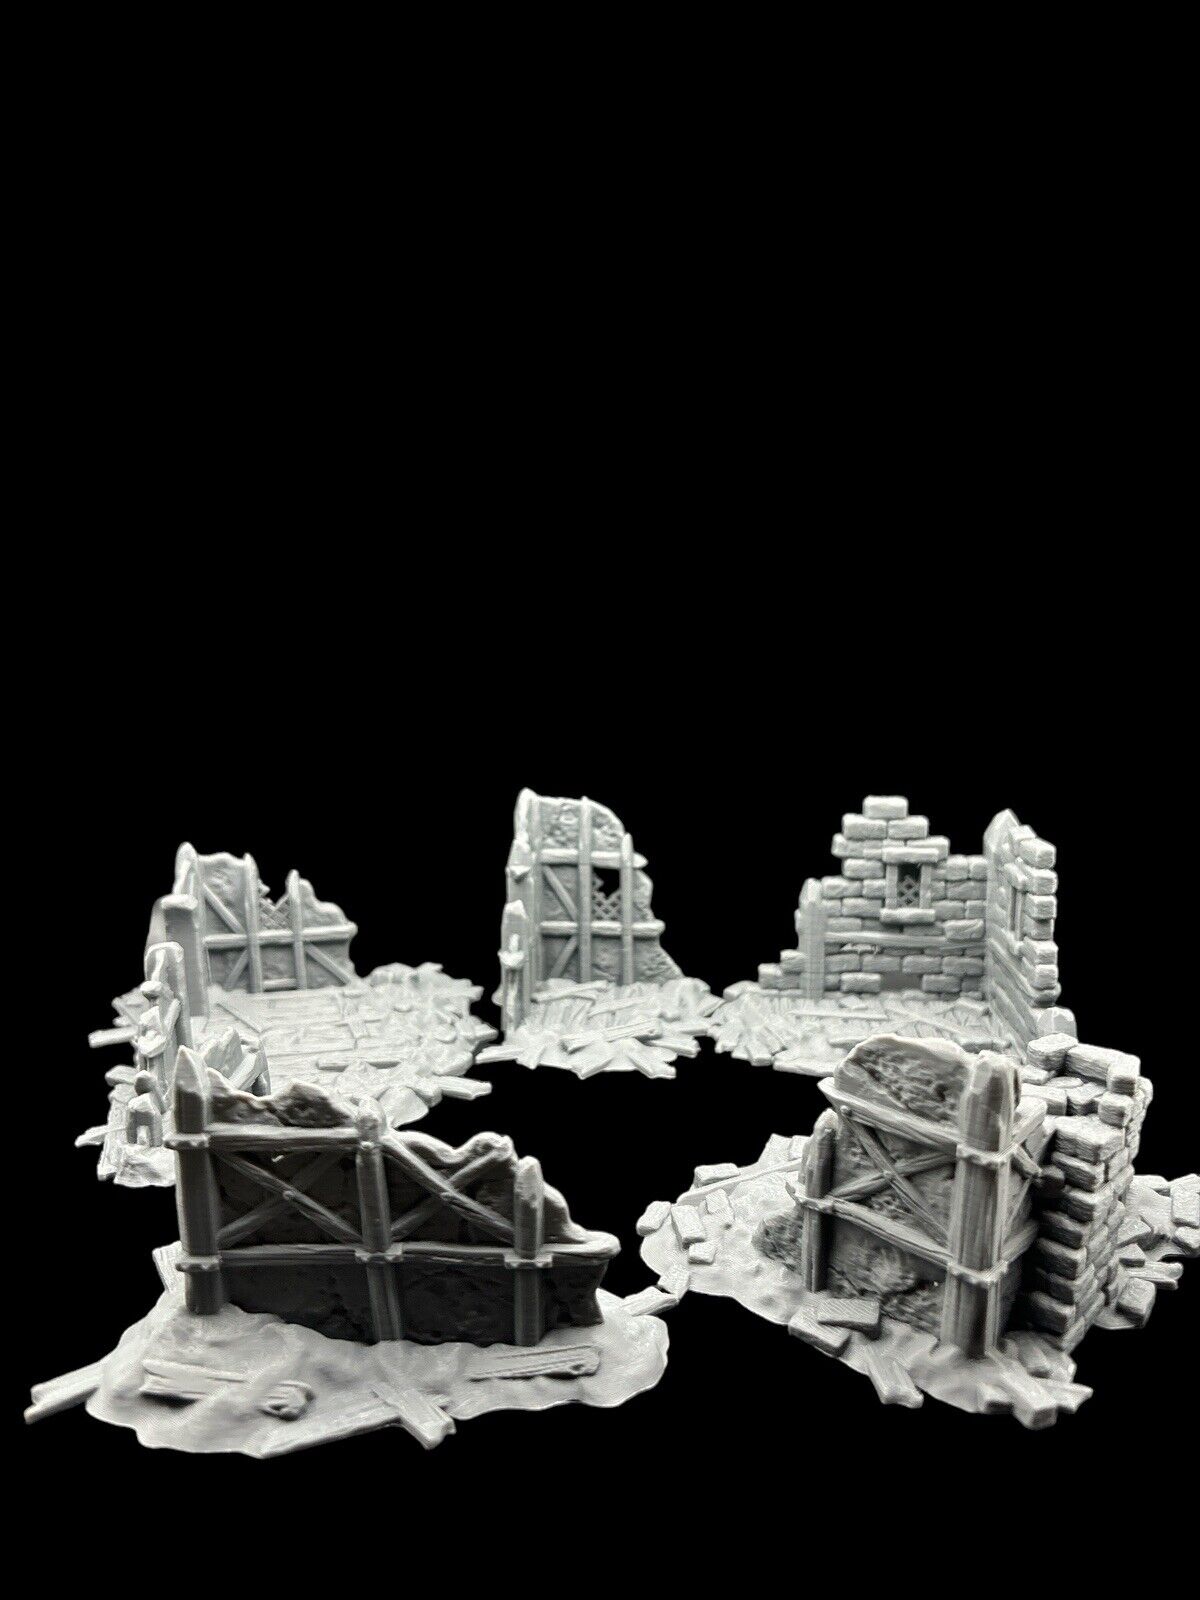
Weekend Zen: Fast Zenithal Priming for 28mm Terrain
If you want terrain that reads on the table without spending days on each piece, zenithal priming is a simple technique that gives instant contrast and highlights details. Hobbyists have been posting a lot of short videos this month showing how a quick zenithal pass plus selective washes produces photo-ready terrain in a single weekend. This guide is terrain-first, with step-by-step tips for 28mm scenery and a handful of easy-to-paint Molten Prints pieces to try.
Why zenithal works for 3D printed terrain
- It mimics natural light, so raised edges and detail pop without heavy layering.
- It makes drybrushing and washes more forgiving, cutting repainting time.
- On multi-piece ruins and scatter, a consistent zenithal base ties a table together quickly.
Tools and materials for a weekend session
- Black primer, white primer, or light grey for the zenithal top. An aerosol spray or airbrush works best, but careful brush-on methods can work on small pieces.
- Two contrast or basecoat paints, one dark and one midtone. Use washes and a light drybrush for highlights.
- Weathering pigment or a thin brown wash for grime and mud effects.
- Superglue, PVA, static grass and tufts for basing quick scenes.
Weekend workflow: a four-step plan
- Clean and assemble, remove supports and glue multi-part ruins. Pieces with lots of gaps, like the 28mm Building Ruins, benefit from small filler pins so walls align during priming.
- Prime black over the whole piece, matte finish. This gives depth to crevices and helps washes settle.
- Zenithal highlight from above using white or light grey at a 45 degree angle, keep at least one consistent light direction across all pieces. For a quick alternative, hit only the tops and edges to simulate sun-baked highlights.
- One-pass basecoat and wash. Lay down a single midtone for the main surfaces. Add a dark brown or black wash into recesses, then pick out edges with a thin light drybrush. Finish with basing materials and a few tufts.
Piece selection: what to print for a fast weekend table
Choose pieces with clear silhouettes and big planes to catch the zenithal light. Three versatile picks from the Molten Prints catalogue:

The building ruins give instant vertical interest and shadowed recesses for washes. For smaller scatter and blocking pieces try:

And for quick cratered cover that shows off zenithal highlights:

Speed tips and common pitfalls
- Work in batches, prime and zenithal an entire table worth of pieces at once so light direction matches.
- If you do not have an airbrush, use a light hand with aerosol or paint the highlights with a large, soft brush.
- Do not overdo the drybrush. Start light and build up. The zenithal pass already gives strong separation.
- Use washes sparingly. Excessive pooling hides detail, a couple of targeted washes bring depth.
These techniques work well for ruined architecture and scatter alike. If you prefer modular cityscapes, add wall sets and barricades for instant tactical terrain: see our 28mm Wall Ruins, 6 pcs and Rubble Barricades for quick line-of-sight blockers.
Prints ship unpainted and ready to prime. After a weekend session you should have a playable table with consistent lighting, weathering and basing that photographs well and plays great.
Putting it on the table
For skirmish and roleplay tables, scatter the barrels and craters to create movement lanes, and anchor objectives on a ruined building. For narrative games, paint a single lead piece to table-top quality and leave the rest weathered and quick-finished; the contrast keeps focus on the story without lengthy painting nights.
Ready to try this workflow? Start with a mix that covers verticality and scatter: the 28mm Building Ruins plus Barrels Scatter 20 pack and 28mm Craters 4 pack give immediate options for cover, objective placement and narrative details. When you are ready to expand, browse the full range of terrain pieces to match your setting.
Find more terrain and build a complete table at our collections.