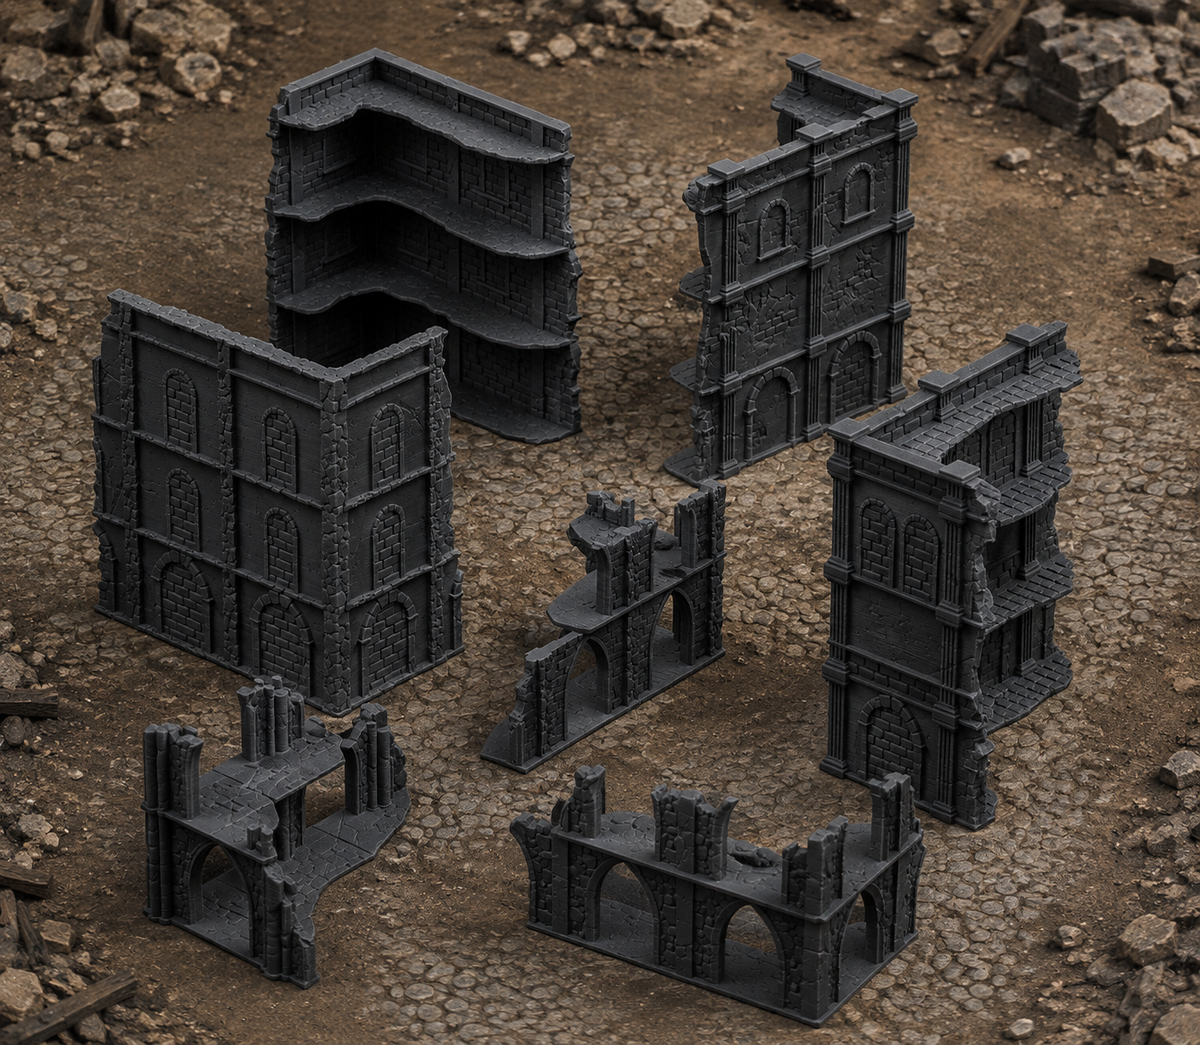
There is a special kind of hobby satisfaction in turning plain scenery into a table that feels ready for adventure. Not every project needs competition blending, oil weathering experiments or a perfect display plinth. Sometimes the best win is a full table of ruins, craters, streets and scatter that looks coherent, photographs well, and makes your next game more exciting.
This week, let’s focus on a weekend-friendly terrain workflow: prime, drybrush, colour, base, weather, then set up the table with intent. It borrows from the current love for fast underpainting, heavy drybrushing and translucent colour, but adapts it for terrain, where big surfaces, readable shapes and repeatable recipes matter more than tiny highlights.
Before you start, remember that terrain prints ship unpainted and ready to prime. That is a gift to the hobbyist, because you can match every ruin, road and crater to your own army, board mat or campaign setting.
1. Start with a simple colour recipe
The fastest way to make terrain look deliberate is to decide on a restricted palette before primer touches plastic. Pick one main neutral, one shadow colour, one highlight colour and one accent. For fantasy ruins, that might be charcoal, warm grey, bone and moss green. For sci-fi scenery, try dark brown, industrial grey, pale sand and rust orange. For a haunted village, go with blue-black, cold grey, off-white and muted purple.
A small palette helps mixed pieces feel like they belong together. A Large Medieval Ruins piece can sit near a Modular Cobblestone Street Set without looking like it came from a different table, provided both share the same stone tones and dust colours.
- Stone recipe: black or dark grey primer, mid grey drybrush, pale grey edge drybrush, thin brown wash in corners.
- Old brick recipe: dark brown primer, red-brown stipple, tan drybrush, soot around broken tops.
- Dusty battlefield recipe: dark tan primer, khaki drybrush, ivory final drybrush, dark brown in recesses.
- Alien site recipe: black primer, blue-grey drybrush, pale turquoise edge drybrush, bright glow accents.
2. Prime for grip, not just colour
Primer is the foundation of the whole paint job. For terrain, you want coverage that helps later layers grab without clogging details. A dark primer is forgiving because missed recesses read as shadow. Grey primer is useful if you want brighter colours or pale stone. White primer can work for snow, marble or bright alien scenery, but it shows every missed spot, so plan for more careful coverage.
If you are painting a lot at once, group pieces by material rather than by product. Prime all stone together, all timber together, all metal together and all ground textures together. That way your drybrush stages become batch painting rather than piece-by-piece tinkering.

Large pieces like Large Medieval Ruins reward a broad, confident approach. Once primed dark, use a large soft brush to build grey over the raised areas, then reserve the brightest highlight for corners, broken edges and upper surfaces. You are not painting every stone individually. You are creating a value map that makes the whole piece readable from standing height.
3. Use drybrushing as underpainting
Drybrushing is having a well-earned moment because it is fast, tactile and perfect for texture. For terrain, think of it as underpainting rather than a final shortcut. The goal is to create light and shadow first, then tint that work with thin colour, washes or selective accents.
- Prime dark so recesses stay shaded.
- Drybrush a midtone over most raised detail.
- Drybrush a lighter tone from above, catching top edges.
- Add a final pale touch only to the sharpest corners.
- Glaze, wash or stipple colour over selected areas.
This method works beautifully on roads, ruins, craters, walls and rubble. On a Battlefield Craters set, for example, the same drybrush ladder can create scorched earth, exposed rock and dusty rim highlights. Add a little black-brown in the centre of each crater, then stipple tan around the outside to tie it into your board.

4. Base the table, not just the piece
Basing terrain is really about making pieces belong to the same world. Even if a building has a built-in footprint, you can still repeat basing colours across the table. Use the same dust on road edges, crater lips, ruin floors and scatter bases. If your board is autumn woodland, add muted browns and ochres. If it is frozen ground, use cold greys, off-white drybrushing and tiny patches of blue shade. If it is a city fight, keep the ground dusty, pale and broken.
The Modular Cobblestone Street Set is a useful anchor for fantasy towns because roads naturally organise a table. Paint the stones slightly darker than building walls, then drybrush the same pale dust across both. That one shared highlight makes separate kits feel like part of one settlement.

Scatter pieces are excellent for repeating that basing language. A few 28mm Barrels beside a road, wall or ruin can share the same dust on their lower edges. That little touch says they have been sitting in the same weather as everything else.
5. Weather with restraint
Weathering is where terrain comes alive, but it is easy to overdo. A good rule is to choose two weathering stories per table. Maybe your board is damp and mossy. Maybe it is dry and dusty. Maybe it is industrial and rusty. If you try to use mud, snow, rust, moss, soot, blood, verdigris and glowing magic all at once, the table can become noisy.
Try these restrained effects:
- Sponge chipping: dab dark brown on exposed corners, then add a smaller silver or pale grey mark inside a few chips.
- Soot: stipple black-brown above blast marks, forge mouths or ruined windows.
- Moss: add thin green-brown in cracks and at the base of walls, not across every surface.
- Dust: drybrush tan from the bottom upward so it looks like dirt has collected naturally.
- Rust: use orange-brown sparingly around metal seams, vents and bolts.
For sci-fi tables, Cargo Containers are a great place to practise weathering because flat panels show sponge work clearly. Keep the chipping heavier around corners and lower edges, then leave some broad panels cleaner so the piece still reads at a distance.
6. Set the table like a painter
Once your pieces are painted, treat table setup as the final stage of the artwork. Put the tallest shapes slightly off-centre. Break up long fire lanes with mid-height ruins or craters. Use roads, bridges or paths to suggest movement. Place scatter near objectives, doorways and corners to create little stories without blocking every model.
A budget-friendly table does not need endless kits. It needs variety in height, footprint and purpose. One large ruin, one road set, a handful of craters and a few scatter pieces can already create a strong game space if the colours match and the layout gives players choices.
For your next hobby session, pick three terrain pieces and give them the same primer, drybrush and dust recipe. When they look like they belong together, add the next three. Bit by bit, your collection becomes more than scenery. It becomes a place your games can return to again and again.
Ready to plan your next painting queue? Browse all Molten Prints terrain and scenery in the full collection.