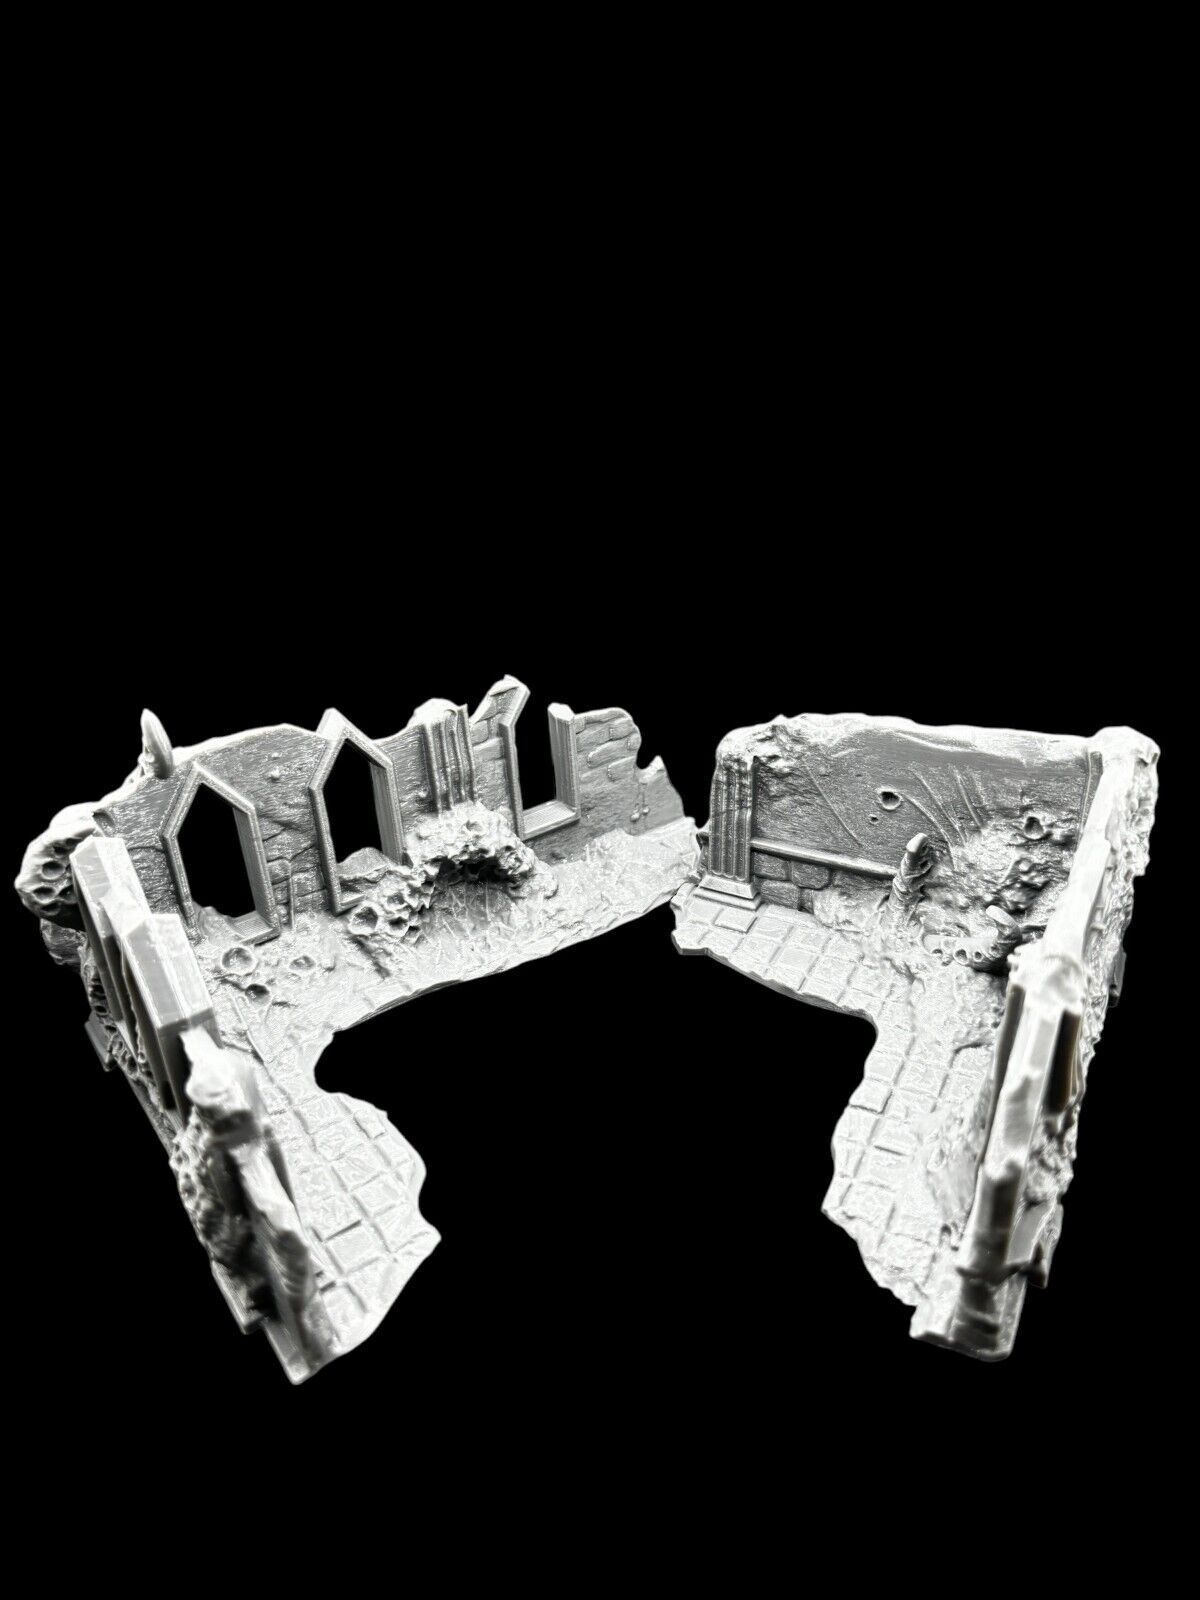
Games Workshop just confirmed what felt unthinkable a year ago: pre-painted plastic terrain for Warhammer 40,000, launching alongside 11th Edition. The reveal video sent the hobby Discords into meltdown, and the take from Goonhammer, Bell of Lost Souls and Frontline Gaming has been overwhelmingly positive. Lower barrier to entry, faster table setup, consistent tournament scenery. There is a lot to like.
But if you already print your own terrain, or you are weighing whether to start, the announcement raises an obvious question. Does ready-painted GW scenery make a home printer or a 3D-printed terrain shop obsolete? After a fortnight watching the reactions, the short answer is no. The longer answer is that it actually makes the case for printing your own stronger, not weaker, in a few specific ways.
What we actually know about the new GW terrain
Going off the reveal video and the photography that has surfaced on community sites, the new range is plastic, pre-assembled, and pre-painted in a clean studio scheme designed to match the 11th Edition battlefield footprints. The pieces line up with the new mission deck terrain layouts, which is the real strategic move: if your scenery matches the official footprint, matched-play setup is faster and sightlines are predictable.
The community reaction has landed in two broad camps. Newer players see a way to skip the months of priming, basecoating and edge highlighting that used to stand between buying a set and getting it on the table. Veterans tend to call it "good for the hobby" without it changing how they personally collect. Both takes are reasonable. Pre-painted terrain solves a real friction point, and it does not pretend to replace the satisfaction of a board you built yourself.
What it does not solve is variety, density, or budget at scale. That is where the home printer and a terrain shop earn their keep.

Where 3D-printed terrain wins on the table
The first thing that hits when you look at a competitive Warhammer table is how much terrain is on it. A standard 11th Edition layout calls for a generous mix of large blocking pieces, mid-height ruins, and scatter. Even a generous pre-painted starter set will not give you full coverage on a 60 by 44 inch table without some help. You either buy multiple boxes, or you mix in additional scenery.
3D-printed terrain is built for this exact problem. Whether you print at home or pick up ready-printed pieces, the cost per piece drops sharply once you have the printer running or you are buying directly from a UK maker. A few practical strengths:
- Density. Filling a board with three large pieces, four mid-height ruins, and a dozen scatter elements is realistic on a print budget. Doing the same in branded plastic is not.
- Style variety. A pre-painted GW set will come in a single aesthetic. Mixing in 3D-printed ruins, sci-fi bunkers and scatter lets you build a table that looks like a place, not a catalogue page.
- Match the mission. Some scenarios want chokepoints. Others want broken sightlines or hard cover for a central objective. With printed terrain you can pick up the specific shapes a list calls for, not whatever shipped in the box.
- Replacement and breakage. Scenery takes a beating. When a PLA wall section snaps, you reprint or reorder a piece, not a whole sprue.
The strongest 40K tables tend to mix kits and printed pieces freely. The point is that you have options for the parts the box does not cover.
Building an 11th Edition table with both
If you do plan to pick up the new pre-painted set, here is a sensible way to layer printed terrain on top so you fill the board.
1. Start with a strong centrepiece
11th Edition missions reward terrain that breaks line of sight through the centre. A single tall, defensible piece does the heavy lifting. A bastion-style block in the middle gives a fortress to hold an objective inside and a visual anchor for the whole board.
2. Fill the flanks with mid-height ruins
Mid-height ruins are the workhorse of any 40K table. They block models on lower floors, give partial cover on the upper level, and create the kind of broken footprint that rewards good unit placement. 28mm building ruins are a clean fit here, and adding a few wall ruin sections gives you the flexibility to extend a piece or close off a sightline without buying a whole new building.

3. Add grimdark texture
Pre-painted GW scenery is going to lean clean and studio-finished. If you want the table to feel lived-in and at war, you want texture: rusted plates, broken corners, things that look like something happened there. Pieces from the infected sci-fi ruins line do this job well, and they slot naturally next to imperial-looking architecture without clashing.
4. Cover the table with scatter
Scatter is the most undervalued category in the hobby. A handful of barrels, a few craters, and a set of rubble barricades turn a board with five buildings on it into a board with a story.

Painting: the part that did not get cheaper
Here is the honest tradeoff. Printed terrain still arrives ready to prime, not ready to play. You are signing up for a base coat, a wash, and probably a drybrush before pieces look the way the product photos do. For new players, that is the whole reason pre-painted GW scenery is tempting in the first place.
The good news is that painting terrain is the friendliest painting in the hobby. A tan or grey rattle-can primer, a brown wash from the cheap end of the shelf, and a light drybrush of a bone tone will get any ruin to a perfectly playable tabletop standard in an evening. You do not need Citadel paints and you do not need fine brushes. Density beats finish on the wargaming table almost every time.
So which should you buy?
If you only want enough terrain for the occasional pickup game and you want it ready to go out of the box, the GW pre-painted set is going to be the easiest answer when it lands. It will look good, it will fit the official footprints, and you will not have to touch a brush.
If you want a table that looks like a battlefield, that you can adapt mission by mission, and that does not cost a fortune to fill, printed terrain is still the right answer. The new GW range raises the floor on what tables look like across the community, which is good for everyone. It does not raise the ceiling on what your table can look like. That is still down to how much terrain you put on it and how willing you are to mix sources.
Every print in the Molten Prints catalogue ships unpainted and ready to prime, so whatever scheme you settle on for your 11th Edition board, the pieces slot straight in once they hit your paint table.
Ready to fill out your battlefield? Browse the full range of 3D-printed terrain at Molten Prints to find centrepieces, ruins, and scatter that work alongside any pre-painted set.