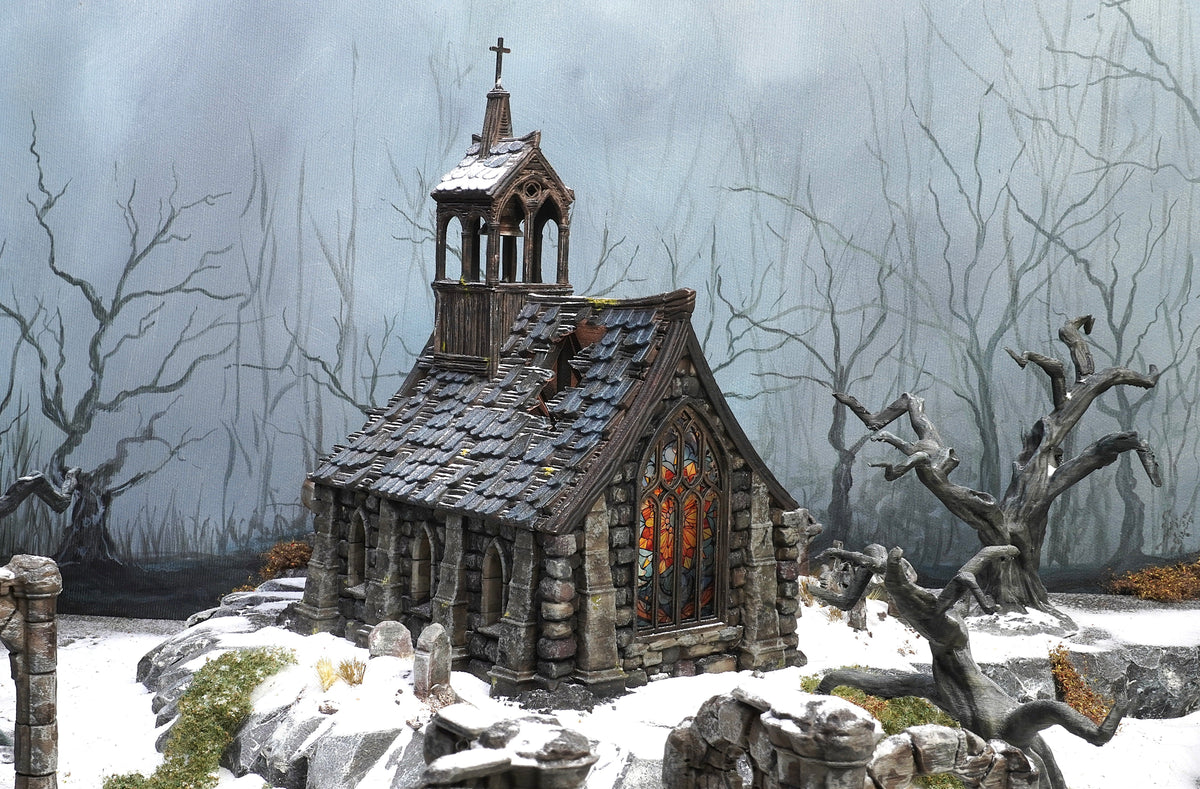
If your feed has been full of stone-texture rattle cans this week, you are not alone. Hobbyists are getting convincing masonry on ruins, walls and craters with almost no fuss. I spent the weekend testing the approach on a few of our classic kits, then trimmed the steps down to a clean, repeatable workflow you can run in a single sitting.
Why stone sprays are having a moment
Textured rattle cans do two things at once. They add micro grit that catches light like real aggregate, and they lay down a speckled base that breaks up big flat areas before you ever pick up a brush. That makes them perfect for printed ruins, where broad walls and floors can look a bit toy-like until you build variation into the surface.
They also play nicely with drybrushing and pigment. The grain grabs lighter tones and powders without extra products or long cure times. For skirmish games that love dense, readable boards, this is a gift.
What you need on the bench
- A stone-texture rattle can in a mid grey or sand tone
- A matte black or very dark grey primer
- Two drybrush paints: warm off-white and cool light grey
- Optional: sepia or green wash for damp stains
- Weathering pigment: dark earth and light dust
- Old makeup brush or big flat brush for drybrushing
- Rubbing alcohol and paper towel for cleanup
Quick note for our kits: prints ship unpainted and ready to prime.
The 45 minute stone workflow
- Prime dark: Give your piece an even coat of matte black or dark grey. Let it flash off for ten minutes.
- Mist the texture: From 30 to 40 cm away, fog the stone-texture spray onto raised areas and open floors. Move in passes rather than trying to cover. The goal is a speckled, gritty veil, not frosting.
- Set the midtone: If your texture is very light, hit the underside of ledges and the base edges with a whisper of the dark primer again. That restores depth.
- Drybrush cool grey: With a big brush, wipe most paint off, then lightly sweep edges, chips and stone faces. The texture will pop immediately.
- Drybrush warm off-white: Concentrate on the highest ridges, stair treads and broken corners. This gives you that chalky limestone sparkle that photographs well.
- Targeted stains: Flick a thin sepia wash into corners and under window sills. Add a very thin green along ground contact and where water would pool. Keep it subtle.
- Dust with pigment: Tap dark earth onto ground floors and rubble piles, then feather the transition with a soft brush. A pinch of light dust on the highest edges sells sun-bleached stone.
Scale it across a table
This shines when you batch pieces. Mix large anchors, medium LOS blockers and fast scatter so the table feels coherent and plays cleanly:
- One to two big footprints for center mass or deployment edges
- Three to four medium ruins or wall runs for lanes and crossfires
- Five to eight scatter items for pockets of light cover and objective dressing
Good candidates from our range:
- Anchor your board with the Basilica Ruins. Tall arches and fractured floors love the texture plus drybrush combo.
- Add quick LOS blockers with the 28mm Building Ruins and the modular 28mm Wall Ruins, 6 pcs.
- Scatter in low cover using Rubble Barricades or crumpled ground with the 4x 28mm Craters.
- Want vertical variety fast? The Lost City Building Set 1 breaks up skylines without blocking everything.

Colour tweaks for different games
- Warhammer 40K: After the warm off-white, glaze a very thin cool blue-grey into shadows for that cold urban look. Sparingly sponge tiny dark chips on door frames.
- Age of Sigmar: Push the warm side. Mix a touch of buff into the final drybrush, then stripe thin verdigris below statues and braziers.
- MESBG: Keep contrast gentle and add moss. A soft green wash along base stones sells damp weather in a single step.
- Frostgrave: Skip warmth and go icy. Final drybrush with near white, then add snow only to the sunless sides so details stay readable.
- D&D: Use pigments to tell the story. Dust the route to the quest objective a shade lighter than the rest to guide the eye.

Common pitfalls and quick fixes
- Chalky over-texture: If you sprayed too close and the surface feels like sandpaper, mist a thin dark primer from far away. It knocks back the grain and restores shadow.
- Speckle blobs: Cold can temps cause spatter. Warm the can in lukewarm water for five minutes before spraying. Shake more than you think you need.
- Flat slabs: Big floors can read as single-tone even with texture. Streak in irregular thin glazes of brown-grey, then re-drybrush lightly.
- Too clean: Pin a few blackened scorch marks with a makeup sponge and thinned brown-black. Keep them small and directional.

Ready to try it?
Start small. One wall section, one crater, one scatter barricade. Batch them, time yourself and tune the passes to your climate. Once you like the look, scale up to a full corner ruin and a tall centerpiece. If you want pre-supported pieces that love this method, browse our ruins and scatter picks above, then explore the rest of the range. Your next board is closer than you think.