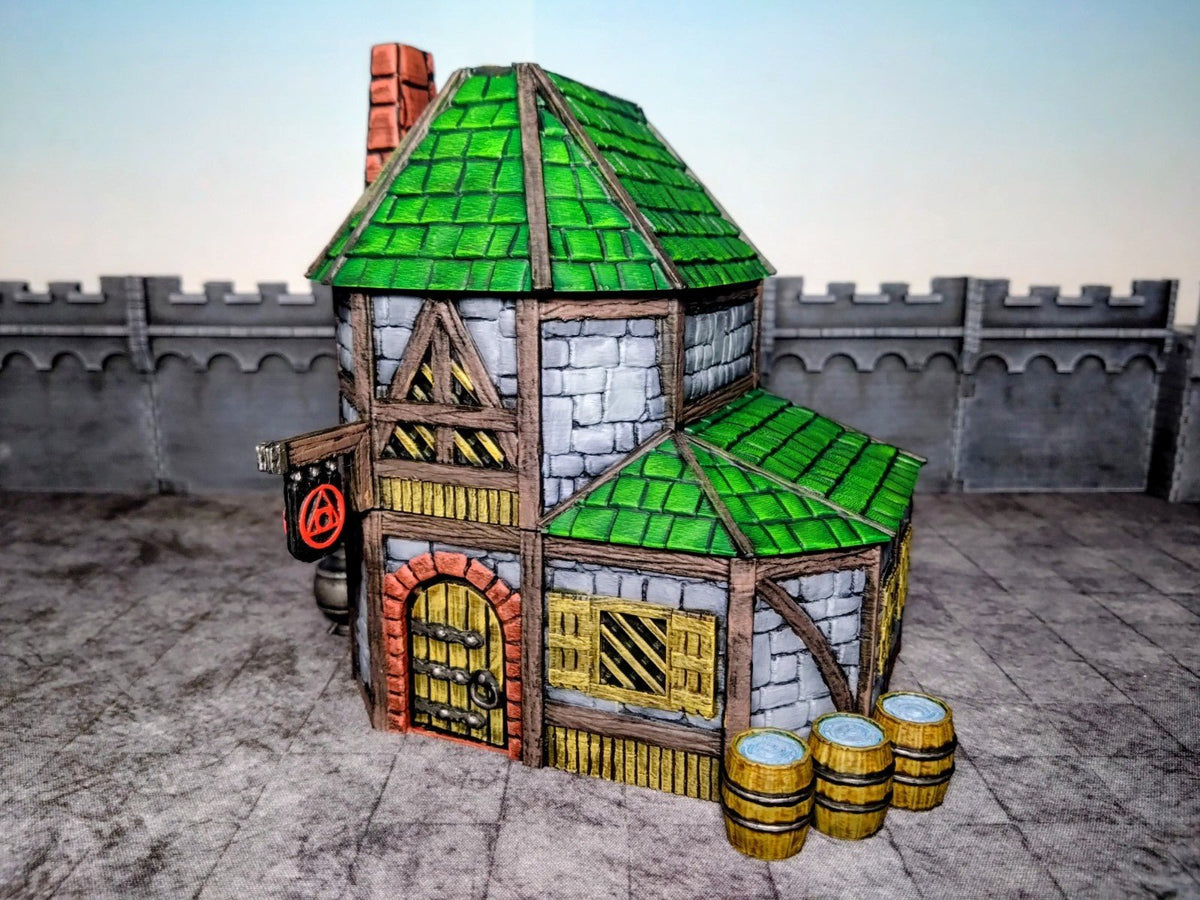
Ask ten wargamers which primer they use on 3D printed PLA terrain and you'll get ten answers — usually with a story about a £40 cottage that bloomed white, melted, or chipped in transit. The truth is that PLA is forgiving stuff, but it does need a primer chosen for what it actually is: a slightly waxy thermoplastic with visible micro-layers. The primer you'd reach for on a Citadel plastic miniature isn't always the same one you'd reach for on a 90mm-tall printed building, and the UK has its own set of supply-chain quirks that change which products are cheap, available, and reliable.
This guide cuts through the noise. We'll look at the four primer types you'll actually encounter on UK shelves, which ones work on PLA terrain, the brands worth buying, and the small process tweaks that decide whether your paint adheres for years or sheds the first time the cat brushes past the table.
Why PLA is different to a Citadel mini
PLA — polylactic acid — is a bioplastic made from cornstarch or sugarcane. It's the most common filament used in FDM 3D printing because it's cheap, easy to print and reasonably hard once cured. It is also slightly hydrophobic and slightly waxy on the surface, which is why people who skip the primer step and start brushing straight onto bare PLA often watch their first coat bead up like rain on a freshly waxed car bonnet.
The other thing about FDM-printed PLA is the layer lines. Even at 0.16mm — the layer height our prints come off the printer at — you'll see horizontal banding on smooth, near-vertical surfaces like cottage walls or tower sides. A thin acrylic primer won't hide those lines. A thick filler-primer will smooth them dramatically. That choice — flat primer vs. filler primer — is the single most important decision you'll make for printed terrain.
The four primer types you'll see in the UK
1. Aerosol filler-primer ("plastic primer surfacer"). This is the workhorse for printed terrain. It's a thick, sandable primer originally formulated for the automotive trade, designed to fill scratches and tooling marks in body panels. On PLA, it fills the gaps between print layers, leaving a much smoother surface to paint over. Halfords Grey Plastic Primer and Rust-Oleum 2-in-1 Filler & Primer are the two most common UK options. Both are excellent. Expect to pay £8–£12 per can; one can will do roughly six to ten cottage-sized pieces depending on how heavily you coat.
2. Aerosol acrylic primer (hobby brands). Citadel Chaos Black, Army Painter Colour Primer, Vallejo Surface Primer aerosol. These are designed for miniatures — thin, fast-drying, no filling. They adhere fine to PLA once it's clean, but they will not hide layer lines. Use them on small, detailed scatter terrain (the Water Well or stacks of firewood) where you want detail preserved, not on broad cottage walls.
3. Brush-on acrylic primer. Vallejo Surface Primer in the dropper bottle, Stynylrez, AK Interactive primers. These are aimed at airbrush users, but they brush on perfectly well on bigger pieces and they're the only sensible option if you're priming inside the house in flat 2 and don't fancy explaining to your housemate why the kitchen smells of solvent. Coverage is fine on PLA. They won't fill layer lines either.
4. Rattle-can hardware-store paint primer. Plasti-Kote, Wilko own-brand, B&Q "Suregrip", various cheap supermarket brands. These can work, but the formulations are inconsistent and a small minority — particularly old Plasti-Kote tins or anything with strong solvents — will soften PLA slightly, causing a slightly tacky surface that never quite cures. If the can doesn't explicitly say "for plastics" or doesn't list PLA/ABS as compatible, test it on an off-cut first. PLA's glass transition starts around 60°C and aggressive solvents will eat it.
Our recommendation for 95% of terrain
If you're priming buildings — cottages, towers, ruins, inns — use an aerosol filler-primer. Halfords Grey Plastic Primer or Rust-Oleum 2-in-1 are the two reliable UK options. They smooth layer lines, give acrylics excellent grip, and dry to a matte surface that's a dream to dry-brush.
For pieces with delicate detail you don't want to soften — small scatter, miniatures, the Raven Tower with its fine timber-beam detail — drop down to a thinner hobby-grade aerosol like Army Painter or Citadel. Layer lines are less noticeable on heavily textured surfaces anyway.
For airbrush owners, Vallejo Surface Primer through an airbrush is unbeatable for control. But for the £10-can-per-batch crowd, filler primer is hard to beat.
Step-by-step: priming a 3D printed PLA cottage
This is the routine we use on every piece that ships from our UK print farm. It takes about ten minutes of active time and gives you a paint-ready surface that won't chip in transit or on the table.
Step 1 — Wash and dry. Print release agents, fingerprints, and dust on a freshly-printed PLA piece will all interfere with primer adhesion. Give the piece a quick wash in warm water with a drop of washing-up liquid, use an old toothbrush to get into the recesses, rinse, and leave it to dry overnight on a tea towel. PLA will not warp in warm tap water but don't use boiling water, which can soften thin sections.
Step 2 — Find a dry, well-ventilated spot. Aerosols hate humidity. If you spray on a humid day or in a damp shed you'll get "bloom" — a chalky, frosted finish caused by moisture condensing into the wet primer. Aim for a dry day, ideally above 15°C, with the piece warmed to room temperature. Garage works, outside in the sun works, the bathroom with the fan on works in a pinch.
Step 3 — Light coats, multiple passes. Hold the can 25–30cm away from the piece. Spray in smooth side-to-side passes, keeping the can moving the whole time. Don't try to cover everything in one go — that's how you get drips and puddles in the recesses. Two or three light coats with 60 seconds between them is the sweet spot. With a filler primer, the second coat is where you really see the layer lines vanish.
Step 4 — Rotate as you go. Tall pieces like the Bell Tower Farm or the Watchmans Tower need spraying from all sides plus from below. The underside of a roof overhang or a window arch is where new painters most often miss coverage and get bare PLA showing through their first wash of paint.
Step 5 — Cure properly. Most aerosol primers are touch-dry in 30 minutes but not fully cured for 24 hours. Don't be tempted to start painting an hour in — the surface is soft and your brush will lift fibres of half-cured primer into the paint. Leave it overnight.
Step 6 — Optional sand. If you're going for a really glass-smooth finish on a hero piece, a quick rub with 400-grit between primer coats will knock down any remaining layer texture. Most gamers don't bother — it's the kind of effort that suits a display piece, not a £20 cottage that's going to live in a battered storage tub.
The common mistakes (and how to avoid them)
Frosting / bloom. Almost always humidity. If your primer dries chalky, wait for a drier day, warm the piece and the can to room temperature before spraying, and try again. A light spray of gloss varnish over the bloom can sometimes rescue the piece, but prevention is easier than cure.
Tacky finish that never cures. Wrong primer for PLA — usually an aggressive solvent-based hardware-store primer. If a piece is still tacky 48 hours after spraying, you'll need to strip it (a dunk in isopropyl alcohol usually does it) and re-prime with a plastic-safe product.
Pooling in recesses. Spraying too close, too heavy, or not rotating. Multi-part pieces like the Elderberry Cottage are best primed disassembled — spray each component separately so you can reach the inside faces and corners without holding the can at awkward angles.
Paint flaking off ridges and corners. Skipped wash step. Print release agents on bare PLA prevent the primer from biting properly. Always wash and dry before priming. It takes five minutes and it's the single best habit for long-lived terrain.
Layer lines still visible after primer. Either you used a thin hobby primer when you needed filler primer, or you didn't apply enough coats. Two heavy coats of Halfords Grey or Rust-Oleum 2-in-1 will soften most layer lines to invisibility on cottages and towers. For ruins like our 28mm Building Ruins or 28mm Wall Ruins, layer lines actually read as masonry texture, so it matters less.
What about resin minis?
The same rules apply with one extra step — wash resin in warm soapy water and isopropyl alcohol to remove any uncured resin from the print process. Then use a thinner primer (hobby aerosol or Vallejo airbrush primer); filler primer is overkill on a resin miniature where the print resolution is already smooth. Our resin-printed WW2 lines are good examples — a single coat of Army Painter or Citadel primer is plenty.
Painting after the primer
Once primer is fully cured (24 hours), printed PLA terrain takes paint beautifully. Standard acrylics from Vallejo, Citadel, Army Painter, AK, Two Thin Coats — all work. For terrain we'd recommend a heavy zenithal drybrush approach: prime grey, drybrush off-white from above to set highlights, then wash and basecoat. You get a £15 cottage looking like a £45 one in about 40 minutes of paint time.
If you want to see what's worth practising on before you commit to a hero piece like the Pumpkin Cottage, a smaller and cheaper piece like the Beetroot House In Ruins is a perfect testbed for trying out a new primer or paint scheme before committing on a centrepiece building.
The short version
Wash. Use Halfords Grey Plastic Primer or Rust-Oleum 2-in-1 Filler & Primer for cottages, towers, and ruins. Use a thinner hobby aerosol for small scatter and resin minis. Spray light coats, rotate, leave overnight. Skip those four habits and your terrain looks twice as expensive as it cost. Take the shortcuts and you'll be stripping a £40 cottage at midnight wondering why it still feels sticky. The PLA terrain leaving our UK print farm is ready to take primer the moment it arrives — the only thing standing between bare grey filament and a paint-ready piece is ten minutes and the right can.